Design Process
The journey that takes your garden from it’s existing state to design plans for your future garden.
1 Site Meeting
Up to 3h, to walk around your garden and talk about your requirements. I might have sent you a questionnaire in advance which we will discuss and there is also an opportunity to look at photos that you have chosen for inspiration or other ideas that you would like to include in the garden. At this first visit I will also take rough measurements of your garden to get an idea of the size in square metre.
2 Proposal/ Contract
Back at my desk I will write up a proposal will include a quote for the design, showing at which stages of the project fees are due, additional charges as well as an invoice for the Initial Site Meeting. You will receive this together with my Terms of Engagement to be signed by you and myself before any design work begins.
3 Site Survey
Once I’ve received your confirmation & signed papers I will start the design process. I will begin with spending 2-3h on site, taking note of existing structures and plants and survey the garden. This will feed into the written up Site Survey showing all existing structures, trees, etc. to scale which serves as a starting point for the design.
4 Site Analysis
A written outline of the elements and requirements the design solution should incorporate. It is a summary of the Site Analysis in combination with information given by the client about their wishes and needs for the garden.
5 Design Program
Using an existing plan of the site or one drawn up after taking measurements at the Site Survey stage, this is an evaluation and analysis of the existing site conditions to determine problem areas and make suggestions of needed changes. The Site Analysis will also pick up issues & needed changes you have pointed out in the Site Meeting.
This could look something like: "fence in need of repair", "take advantage of view/ tree" or "steps required here" written on a plan drawing of the existing site.
6 Functional Diagram
Hand-drawn bubbles and symbols are used to conceptually work out the configuration of the major spaces and elements as well as their size, proportion and location. These spaces and elements could be dinning area, lawn, borders, greenhouse etc.
7 Preliminary Design
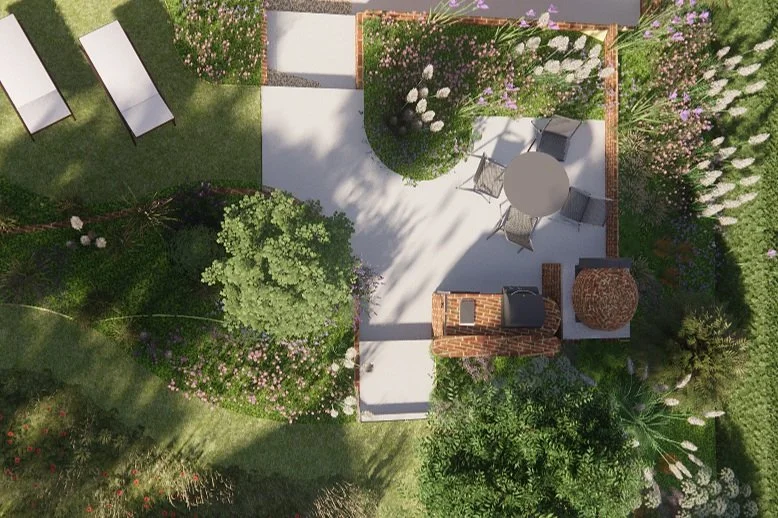
A general site plan drawn to scale showing the proposed size and shapes of garden spaces. It is the first plan of the proposed the design that is presented to you for review and discussion.
perspective Scenes
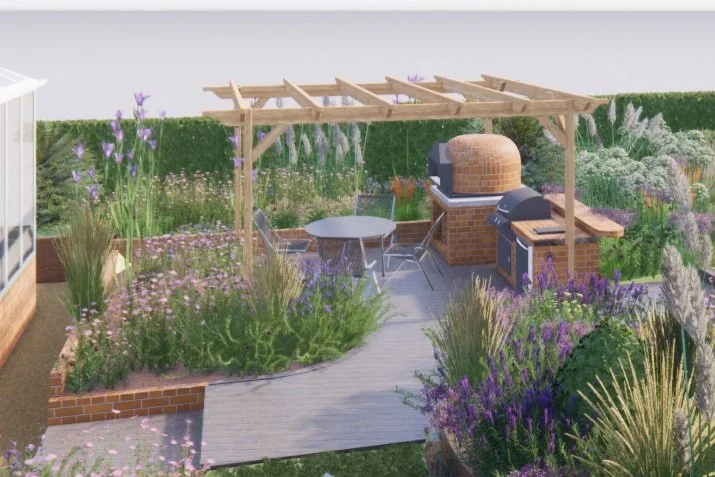
3D Perspectives of your garden to show parts of your garden as a perspective to illustrate the Preliminary Design drawn in 2D. This is often very useful if there are multiple options, for example different routes through the front garden, as it will show very effectively what each option would look like. Perspectives are a first glimpse into what your garden could be.
Section drawings (if applicable)
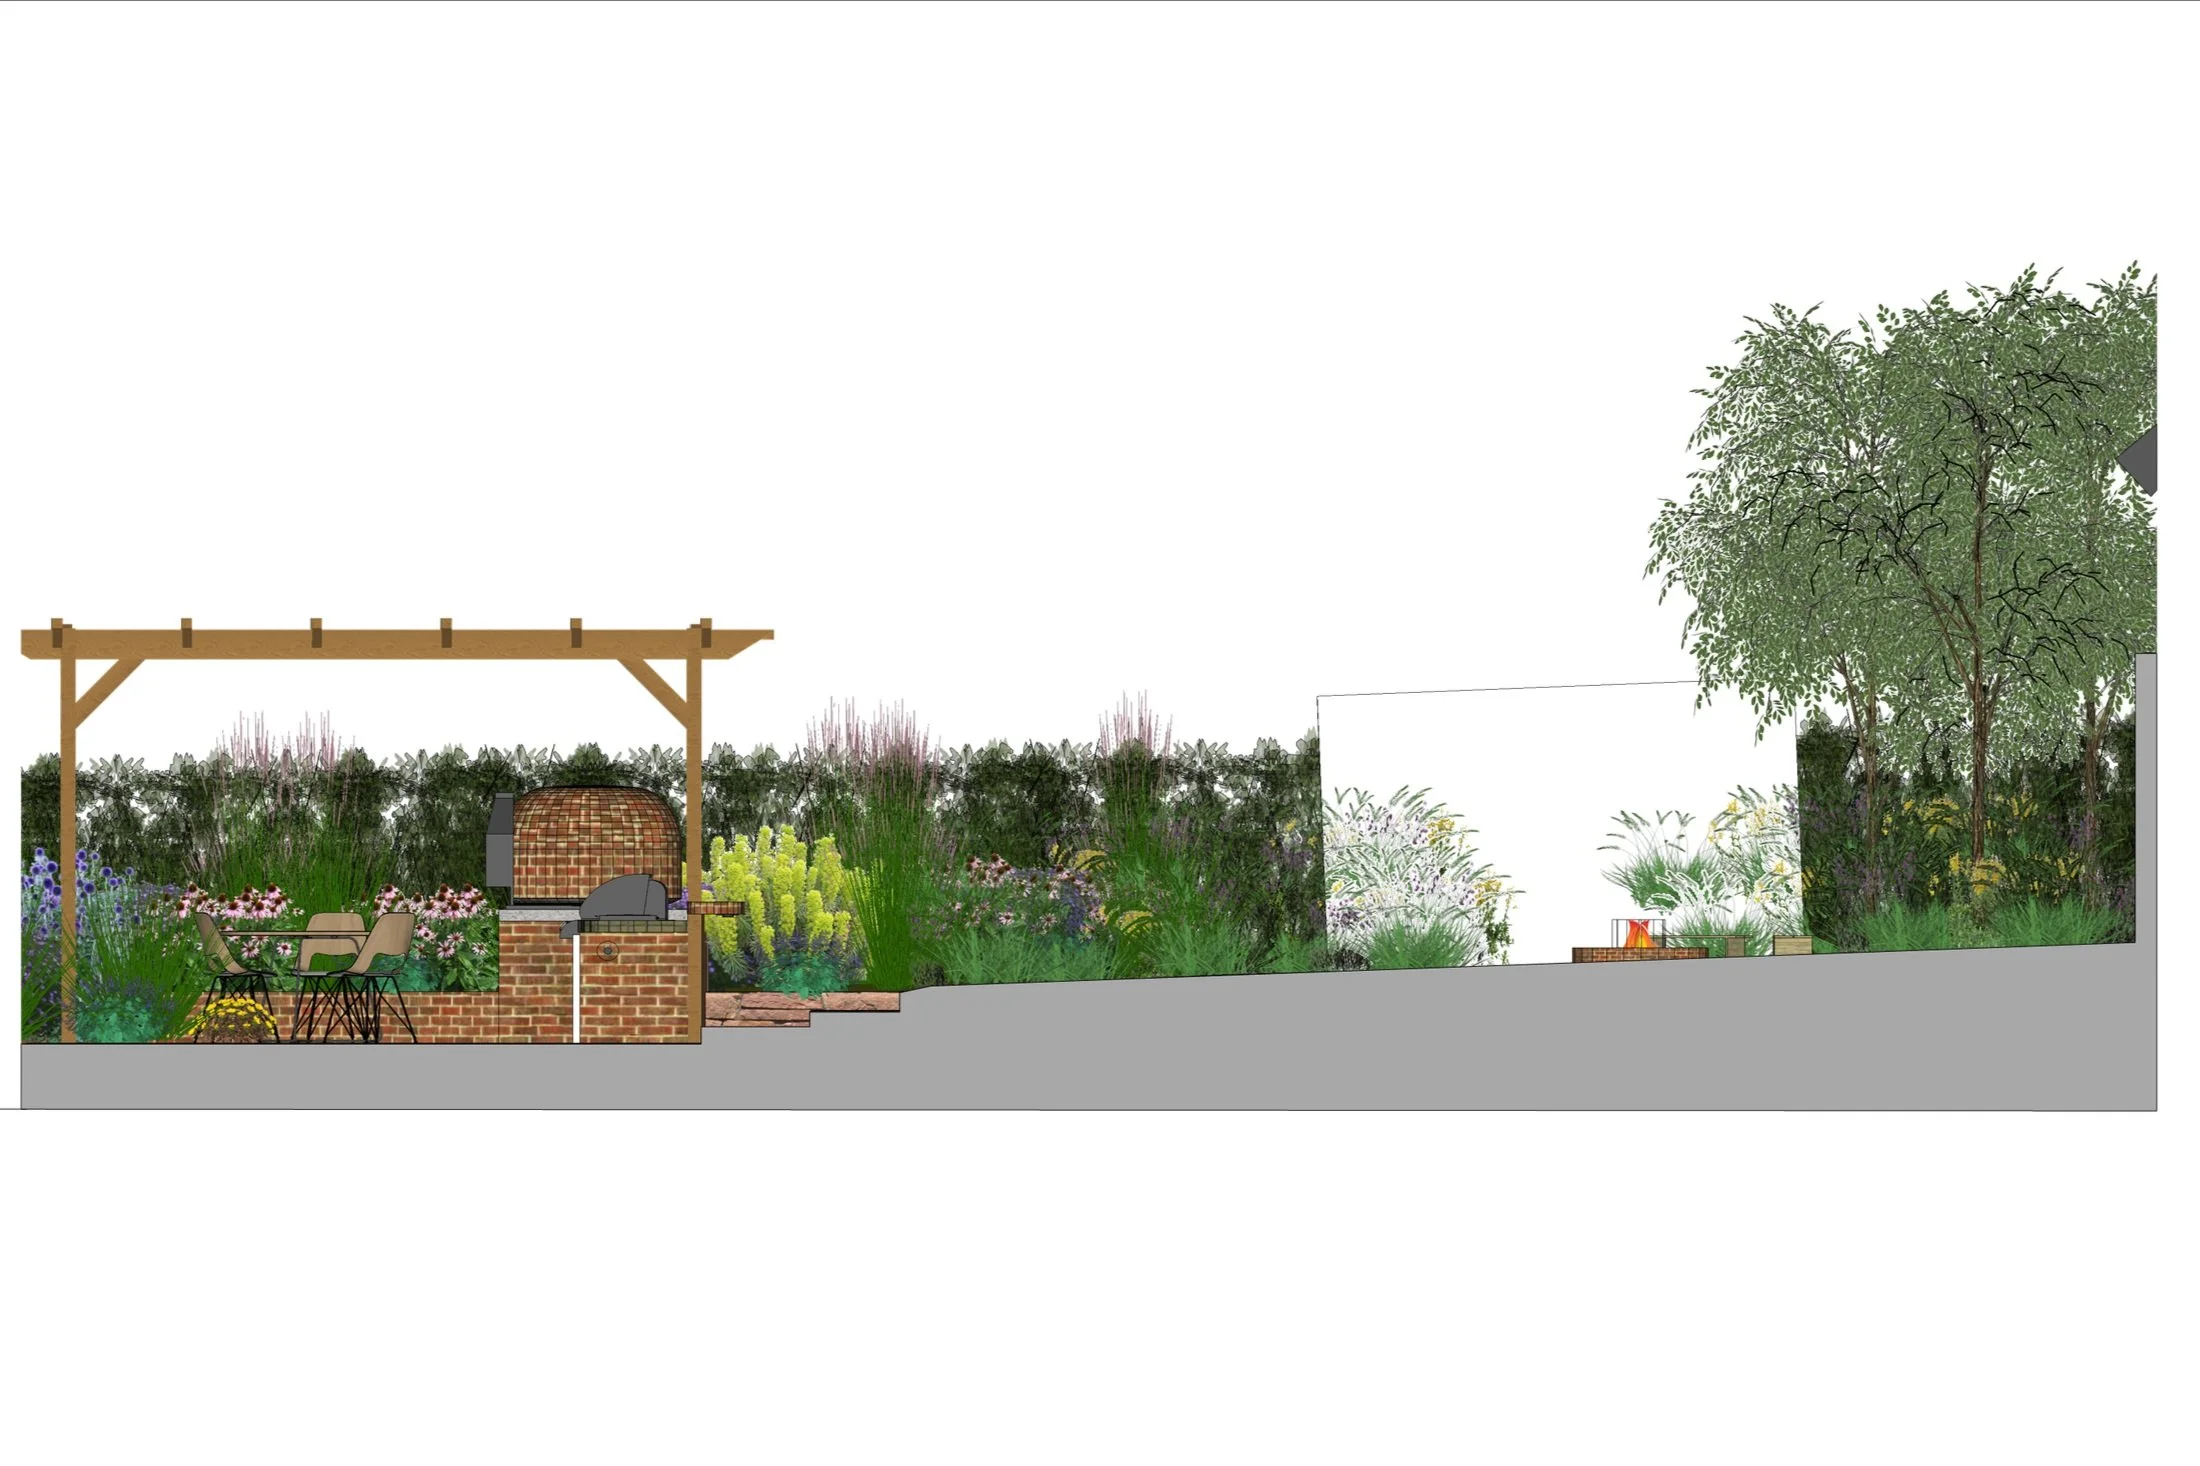
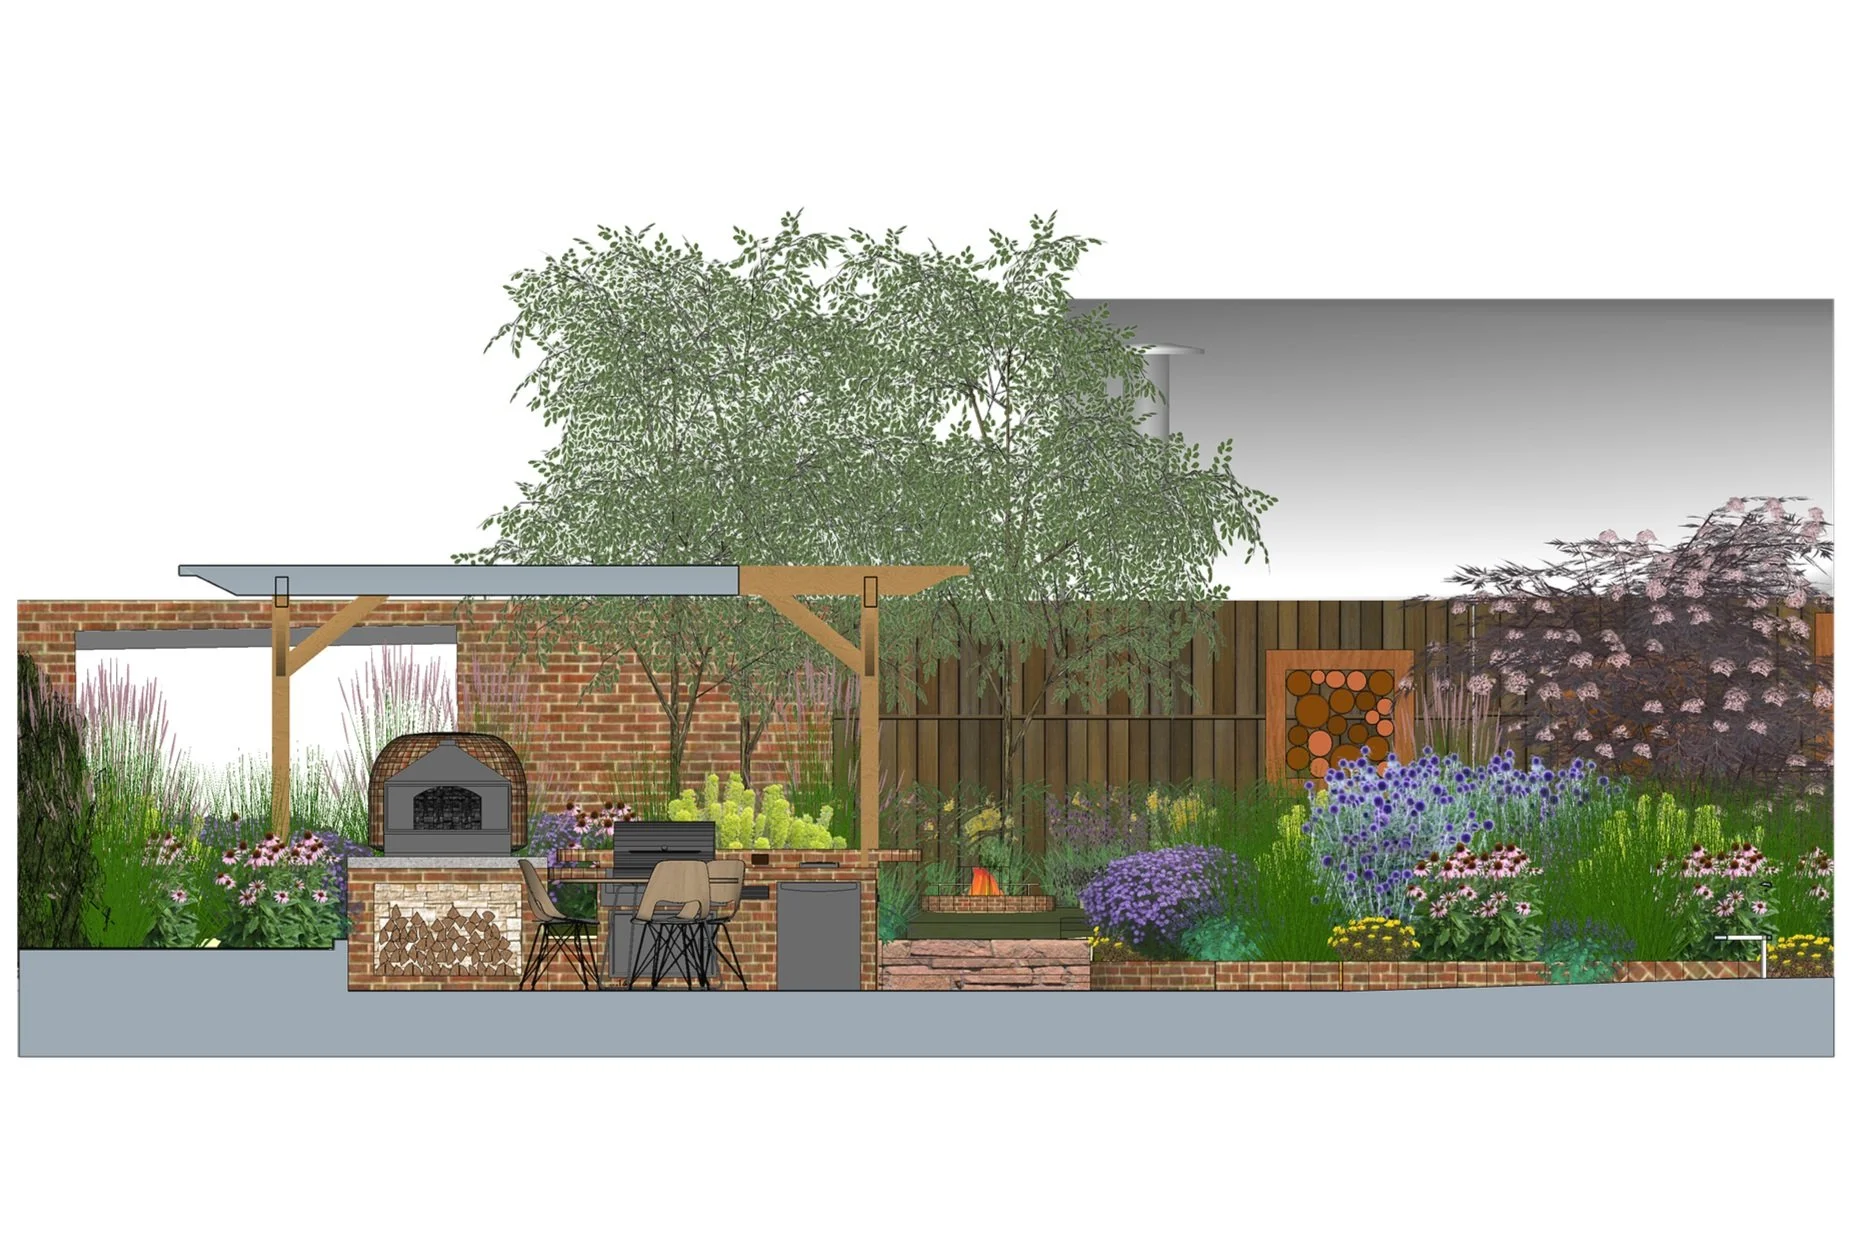
Section drawings can be very useful in demonstrating level changes, existing or proposed on a sloping site.
8 Meeting
At this stage we will sit down together and have an in-depth discussion about the proposed design. I often find it helpful to walk around the garden as well, pointing out how the plan would translate into the real space. Marking out areas shown on the plan, i.e. borders or patio with bamboo canes whilst out in the garden can help make decisions about the proposed design.
9 Adjustments/Changes
Based on our discussions in the meeting I will make changes to the Preliminary Design until we arrive at a design you are happy with.
Moodboard
Once the Concept Plan has been agreed on and finalised I will start on working out the details. I like to start the process by creating Moodboards on Pinterest where I will select and assemble pictures of Materials, Structures and Planting/Plants that put together will result in the style of your garden, i.e. country garden, modern, naturalistic etc. There Moodboards will be accessible to you and you can also add your ideas if you like.
We will use these Moodboards as a starting point from which we work out what elements to go for. After narrowing down and deciding on a style or particular materials I will draw up the Masterplan & Detail Plans (if required) that show specification of Materials and Structures and do more in-depth research into suitable planting for your garden, resulting in the Planting Plans.
10 Masterplan
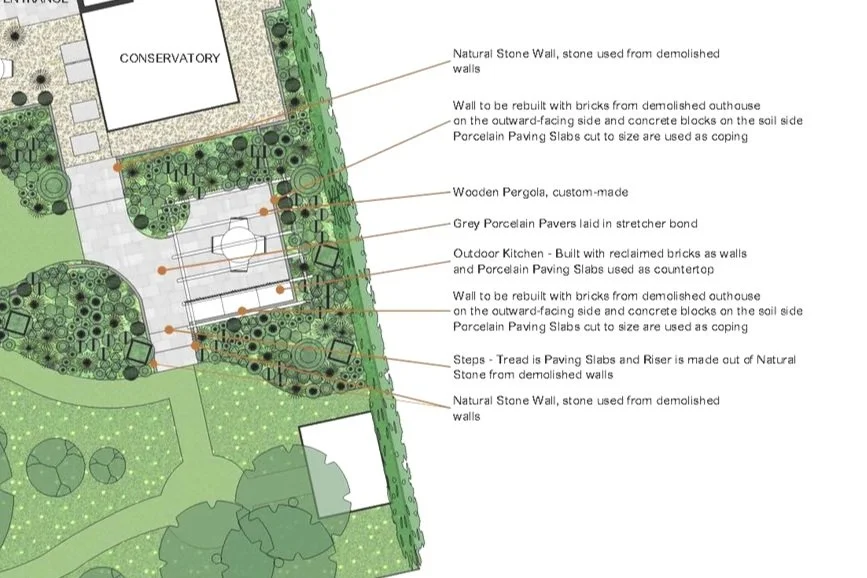
A more detailed version of the preliminary design showing materials, structural plants and hard surfaces in more detail. It shows the final, proposed design and usually comes with Detail Plans showing Dimensions information about Planting and Hard Landscaping.
Detail Plans - Planting Plan
Showing the positioning of the plants which are labelled to easily identify the name as well as a Plant List, showing quantities, plant sizes and flowering time/season of interest.
Click below for more information about this particular part of the Design Process.Detail Plans - Dimensions
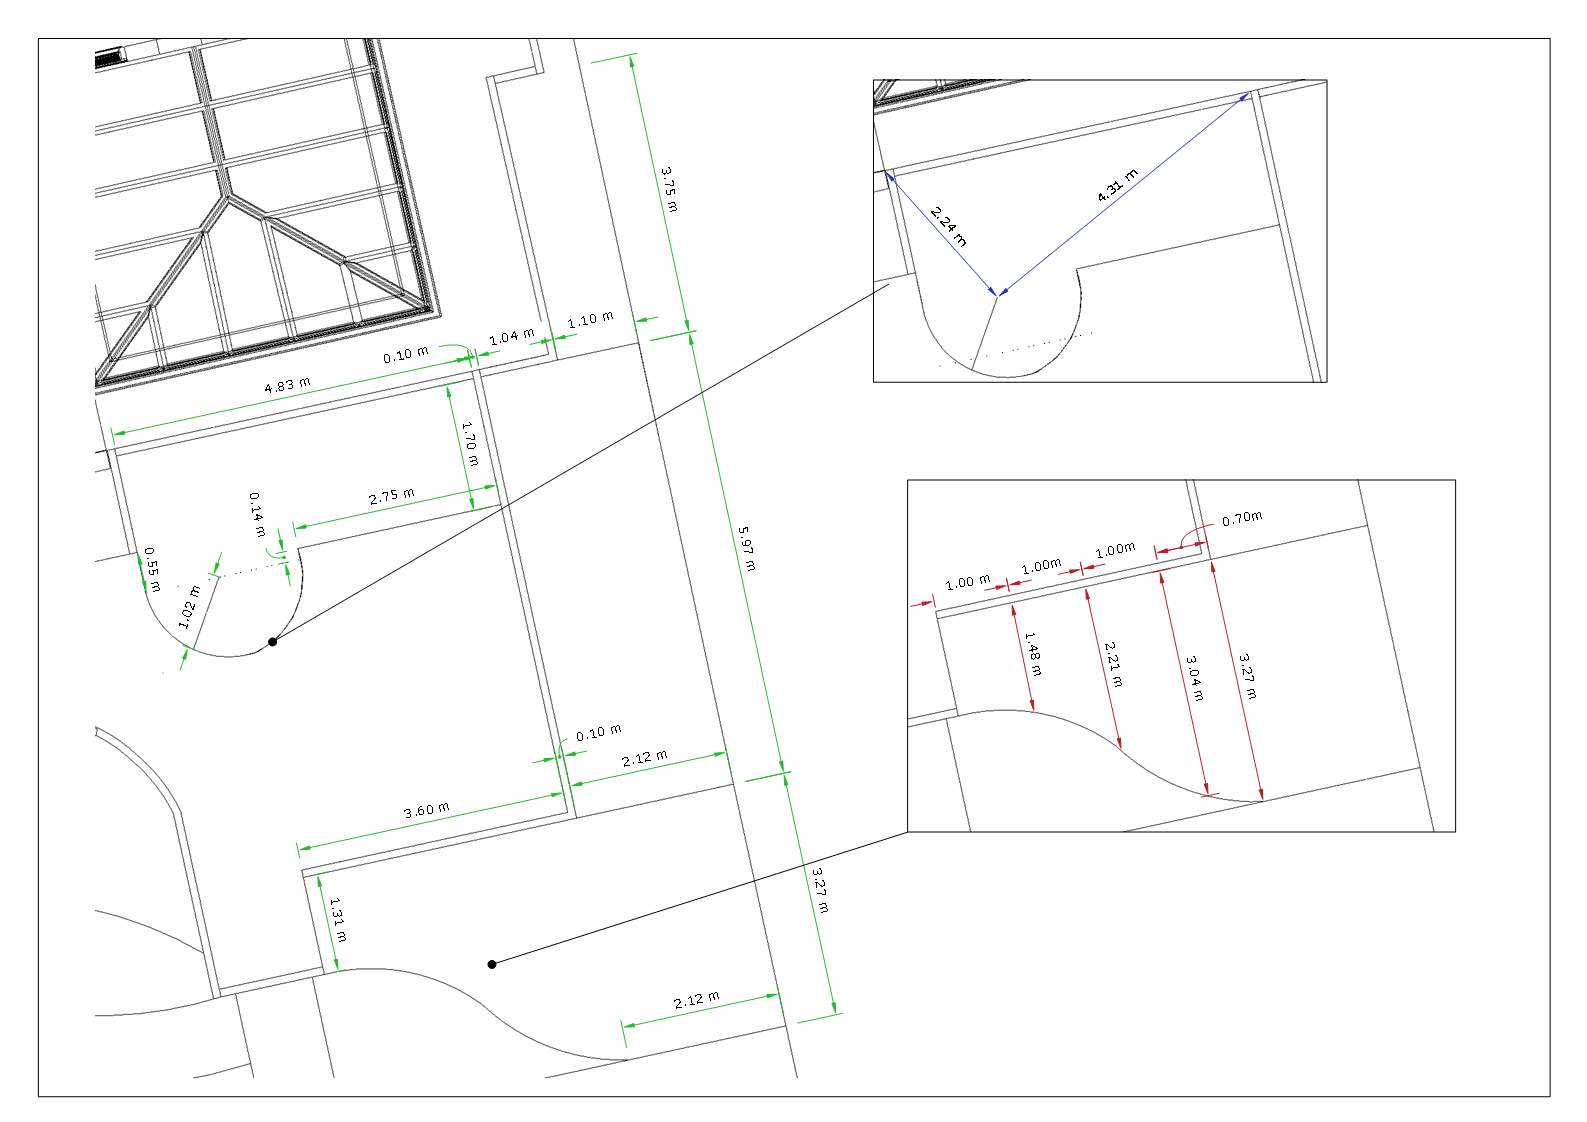
Dimensions are added to a simplified version of the Masterplan showing clearly the length, width, centre points etc. needed to set out the plans.
Detail Plans - Hard landscaping
Plans that show specification of Materials and Structures so the garden can be built with it’s features as intended.


